6 Do’s and Don’ts of Backing Up Photos

dos and donts of backing up photos

dos and donts of backing up photos

From a lost phone to a failed hard drive, there are so many ways to permanently lose photos. We have seen it happen before and it’s heartbreaking.

Amy Molloy lost a decade of photographs—including photos of her late husband—simply because she didn’t check if her backup from one hard drive to another was successful: “in the days before digital cameras and hard drives, if you lost a photograph, it was gone for ever,” she says. “As a member of Generation Y, I thought that I was immune to this worry, until two months ago when I accidentally deleted every digital photograph I had ever taken.”

The only thing she could do was ask her friends to send any pictures they had, but she admitted, “it wasn’t the loss of public events such as birthday parties and baby showers that hurt so greatly; it was the intimate, private moments that I was really mourning – the moments that seemed so magical and so unbelievable that I didn’t trust my memory of them.”
Click here to read the full story.

Thankfully, there are several preventative measures you can take to make sure this never happens to you. Backing up photos might seem like a lot of work, but if you follow these 6 do’s and don’ts of backing up photos, you will have a simple system setup so you never have to worry about losing your photos and memories.

Don’t: Count on just one storage place

We strongly believe in redundancy. Storing all your photos in one place is the easiest way to lose them in the blink of an eye. Your external hard drive could fail, pictures can be lost in a house fire, or your computer could be stolen full of precious memories. There are many storage places for photos, but it’s essential you store your photos in at least two places.

Do: Use an external hard drive

External hard drives are a great option for photo storage, especially if you have a large number of photos or high quality photos that take up a lot of space. There are many affordable external hard drives available on the market today. We also recommend having two hard drives—one in a safe and one out and accessible—to follow our first tip of having more than one storage place.

While external hard drives are a very reliable storage place for your photos, they can fail. This failure can be due dropping the hard drive or simply overheating, but these possibilities emphasize not relying on just one storage place. Make sure you check that your external hard drive is working on a regular basis and if it travels with you frequently, don’t forget to buy a protective case.

Don’t: Use Facebook as photo storage

Not just Facebook, but social media websites like Instagram and even photo-printing websites may downsize the clarity and size of your photos which will mean a lower resolution for printing purposes. It is often hard to detect on a computer or phone screen, but these websites digitally compress the images because they are not setup to store your photos.

If you lose your photos and happen to have a lot of them saved on Facebook, it is better than nothing, but that original print-worthy photo will be gone for good.


dos and donts backing up photos

Do: Consider an online cloud backup service

Online photo backup services are very reliable because the photos are being stored in a second location from the rest of your photos. This is a great second storage option if you have an external hard drive because if anything happens to your home or devices, you can rest assured your photos are safe in “the cloud”.

Depending on your device, you might consider Apple iCloud, which offers a lot of storage for a low monthly fee, or Google Photos, which is completely free for unlimited photo storage (with image resolution restrictions). It is important to note that some cloud storage services compress photos over time, so make sure to check the resolution of your photos from time to time. Click here for a detailed list of online cloud backup services.

The best part about these cloud backup services is they all offer automatic backups, which leads us to our next point…

Don’t: Backup photos just once

It is very important that you periodically backup your photos or setup an automatic photo backup. You don’t want to lose any new photos as time goes on, and losing photos is always unpredictable. You never know when your hard drive will fail, when your computer will crash, or when you will lose your phone. You can either make a habit of backing up your photos or sign up for a cloud backup service that will take care of it for you.


Do: Digitize your photos

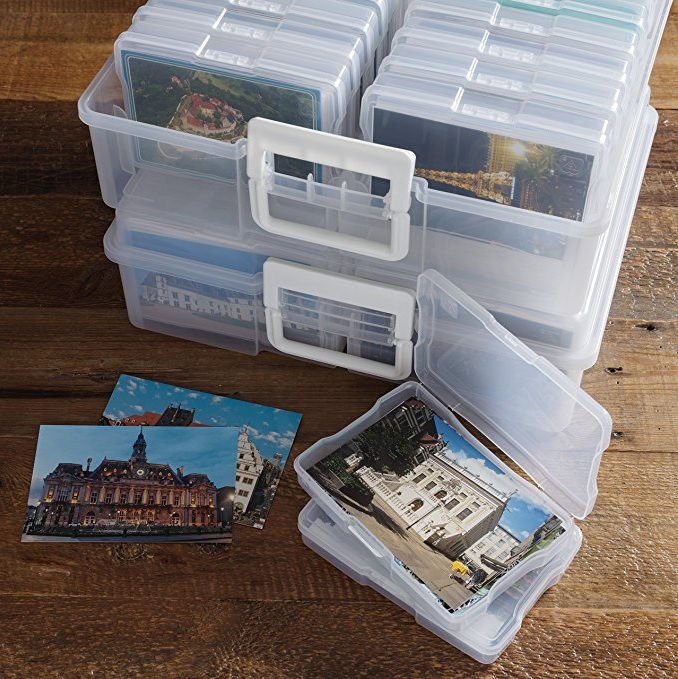
It’s common to have boxes and bins full of printed photos because that used to be the only way to get your photos. While it’s great to have printed photographs to share, display, or create photo books or scrapbooks with, it’s easy to forget about those pictures and leave them in storage. Even if perfectly safe from harm, printed photographs do not last forever.

To protect and backup these photos properly, you will need to digitize them. This is a service we provide to the Denver Metro Area in Englewood, Colorado, and this service can be found almost anywhere.

If you are interested in a photo scanning service or photo organization service, give us a call! The Life’s Sweet Team would love to help you or someone close to you save those memories before it’s too late.


6 Simple Steps to Organize ALL Your Photos


If we asked you where all your photos are, how many answers would you have? If it’s more than two or you can’t even count, this article is for you.

Chances are you have thought about organizing all your photos once or twice, or you don’t even want to think about it because just the thought is overwhelming. This goes without saying, but the more you wait, the harder it’s going to be later on. We hate to break it to you, but it’s time to organize all your photos. Here are 6 simple steps to organize all your photos in the most efficient, stress-free way, along with tips to keep your future photos organized as they come.
 

Step 1: Compile

From pictures in shoe boxes to thousands of pictures on your phone, put all of your photos together so you know what you’re working with. Here are some places to look:

  • Old/current cell phones
  • Computer
  • External hard drive
  • SD cards from digital cameras
  • Photo CDs
  • Social media (Facebook, Instagram, Snapchat, etc.)
  • Cloud storage (iCloud, Google Photos, Shutterfly, Dropbox, Flickr, etc.)
  • Tablets
  • Photo boxes
  • Undeveloped film


Step 2: Make a plan

With a plan in place from the beginning, your photo organization will run smoothly and be less stressful. Your plan should include:

  • A central photo hub: a photo hub is more important than you think. This will not only act as your storage place, but all those photos you’ll take and receive in the future will have a home that’s easily accessible. Without a photo hub, you’ll inevitably end up back at step #1 in just a few years.
  • A schedule for yourself: if you’re good at keeping yourself on task, no need to include this in your plan. But, if you have an abundance of photos, this step is helpful so you aren’t breaking off more than you can chew in one sitting. One night, you can look through your old phone. Next weekend, you can get through half of the box that has been collecting dust under your bed. Set your schedule and stick to it!
  • An organization system: you can organize them chronologically (our recommendation), by location, or by person. You can send duplicates to family or throw them away. You can even name your digital folders by event to easily find a specific photo in the future.


Step 3: Gather your tools

Depending on your plan, you might want to get a bin to organize your photos by the month and year they were taken (like this one),  a new hard drive to keep them all in one place, envelopes to send extras to family members, or a photo album to give to your kids.


organize your photos

Step 4: Start sorting

This step is the most time-consuming but the most fun. If you set a schedule for yourself in Step #2, sorting will be a bit less overwhelming. If possible, grab a few friends or family members to help and reminisce together. While you sort, make sure to label your containers and folders!


Step 5: Safeguard your memories

Now that you’re all organized, the most important step is to make sure your memories are safe. This can be done by scanning all of your photos (we can do this for you) to make them digital, uploading them to an external hard drive, and even uploading them to an online photo storage service. In case of an emergency, you can be sure your memories are safe.

We’ve encountered many instances where a customers’ photos, slides, or CDs were past the point of no return. These photo mediums do not last forever like digital files do. Don’t wait before it’s too late!


Step 6: Enjoy

This doesn’t just mean enjoy what you’ve accomplished, but now that you’ve looked through old memories, print some of those forgotten moments and put them on the walls. Create a photo book of one of your favorite vacations or milestones so you can relive them more often. You can even send copies to friends and family as a gift!


If this process doesn’t interest you or seems like too much work, Life’s Sweet will do it all for you! We organize photos, scan them to make sure they’re safe, and even make custom photo books so you can look through your photos effortlessly. We offer free 1-hour consultations. Give us a call today!

Preserving Memories Through Photographs

Whether kinship to you means the family you were born into or the one you have chosen, true kinship never fails. And it needs to be preserved with photographs, because it is one of the only tangible pieces of kinship that we have. So it is important to exist in photographs for yourself and for your family.

There are photos on nearly every surface in our home. It’s the first thing you see when you walk in the door. Canvases, small prints, big prints. Framed pictures on my childhood piano and our fireplace mantle. A photo of my parents on their wedding day. Instant Polaroids taped to our refrigerator. Tiny details like the hands and feet and curly locks on new babies.

You know what I think about often? That one day my children will look for photographs of me and their dad, and us with them. What will they have? It’s easy to get in a cycle of not wanting your photo taken. But life is short — what happens when you’re gone? What will be left of the life and relationships you created?

“We’ve got this gift of love, but love is like a precious plant. You can’t just accept it and leave it in the cupboard or just think it’s going to get on by itself. You’ve got to keep watering it. You’ve got to really look after it and nurture it.” – John Lennon

My family loves me, and they want to see our life in photos as much as I do. I want to celebrate this beautiful existence we have built. This is why I take photos constantly, and why I hire photographers I believe in to create these photos that generations of our family will hold onto forever. Because a portrait is more than just a photograph. These photos are more meaningful than anything our family will ever own or vacation we will take or gifts we will buy. These photos, these tangible memories, are the only possible thing we could invest in that will go up in value the way they do.

We’re making sure we preserve these memories for our kids. What’s more important today, in this moment, than photographing your family and friends and existing in photos with them? Preserve kinship through photographs every chance you get.

______